This document was last modified:
Lab 0: Software Installation
Table of contents
Lab Objective
This lab`s objective is to prepare you for the different upcoming labs of Robotic System courses by installing the necessary software. While this lab has no grade value, it is meant to help prevent future delays caused by needing to stop and install these software programs later.
Deliverable
- Nothing needs to be submitted or demonstrated for this lab.
General Steps for Completion of Lab
Step 1 - Install PSoC Creator
To Hide Details
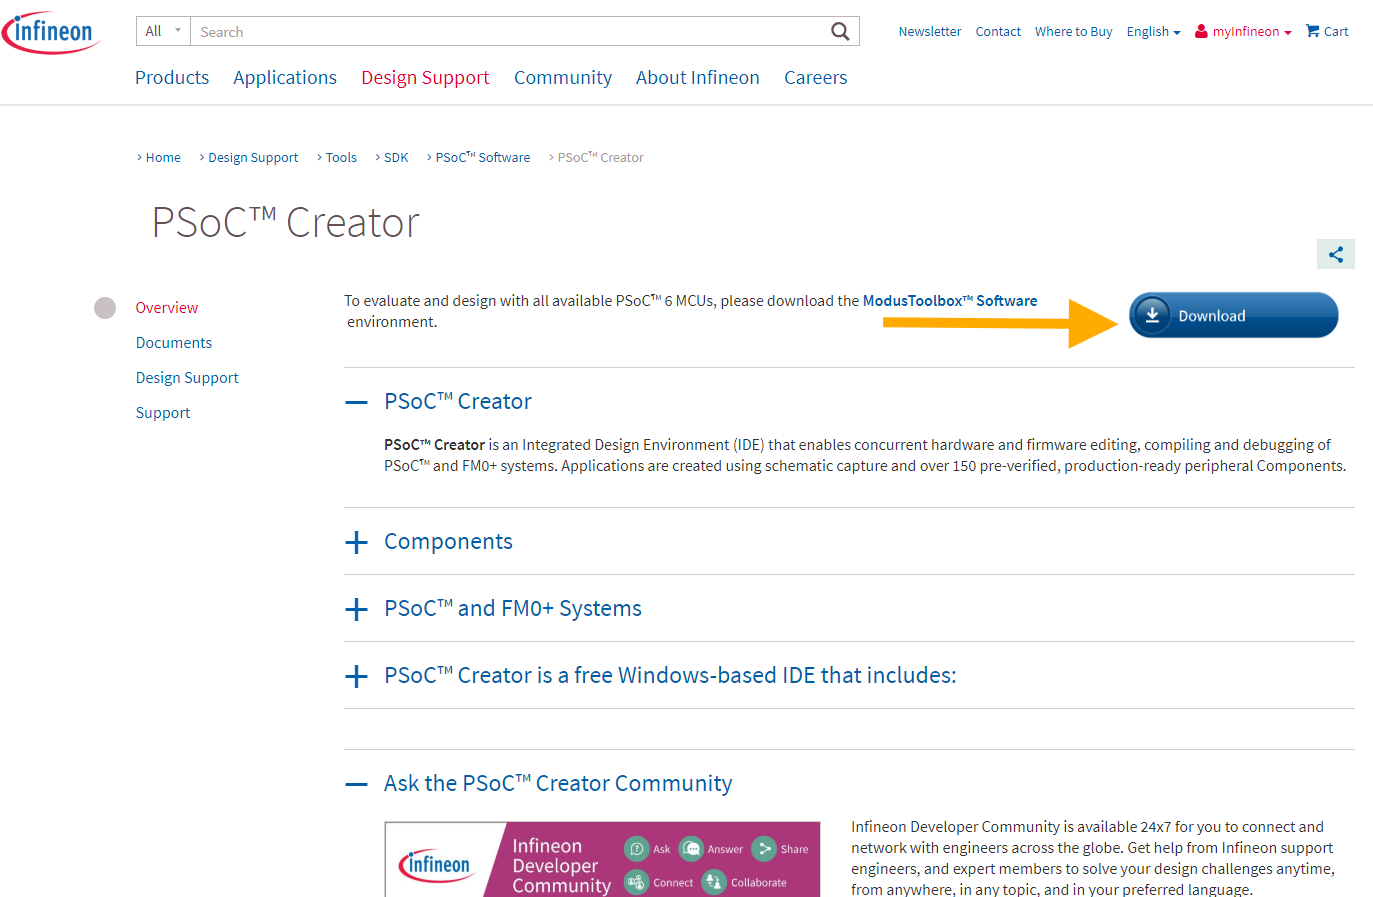
The CY8CKIT-059 PSoC 5LP Development Boards need the PSoC Creator™ Integrated Design Environment (IDE) for programming. You will need to go to https://www.infineon.com/cms/en/design-support/tools/sdk/psoc-software/psoc-creator/ to download this software.
The link will open to a page like Figure 1. Click the Download icon that the yellow arrow is pointing to.
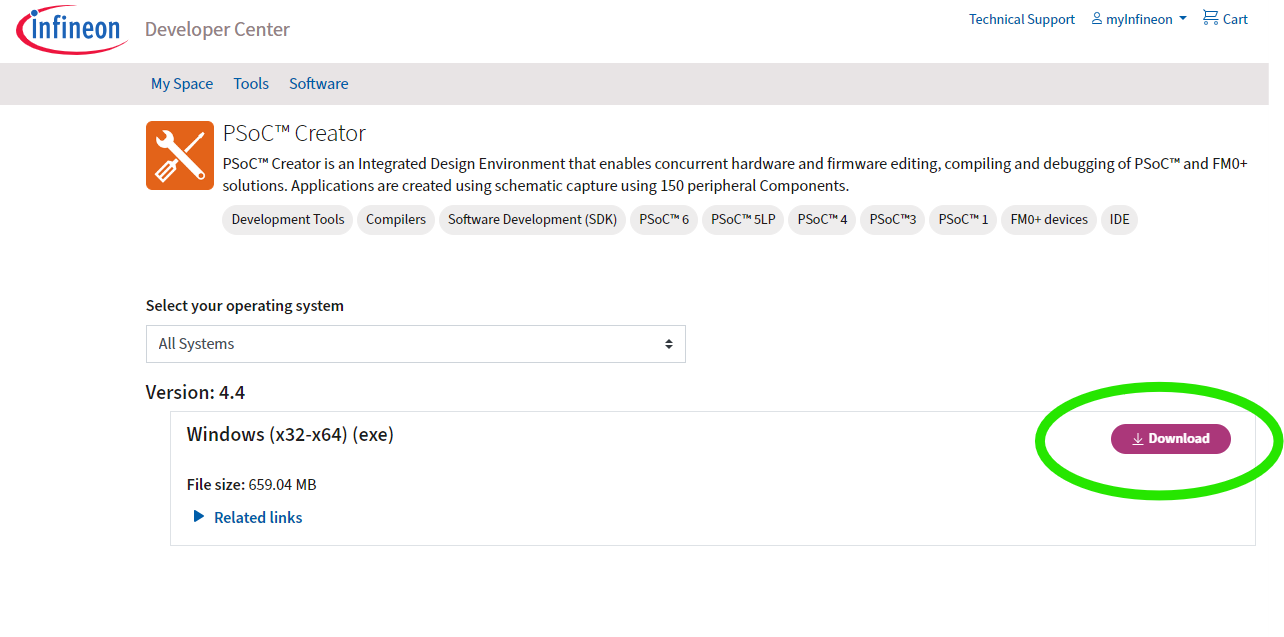
Then another window will open to verify the operating system and version of PSoC Creator you want to download, as shown in Figure 2.
Note
While Figure 2 shows version a version of 4.4 for PSoC Creator, you can use the current version if there is a newer one available.
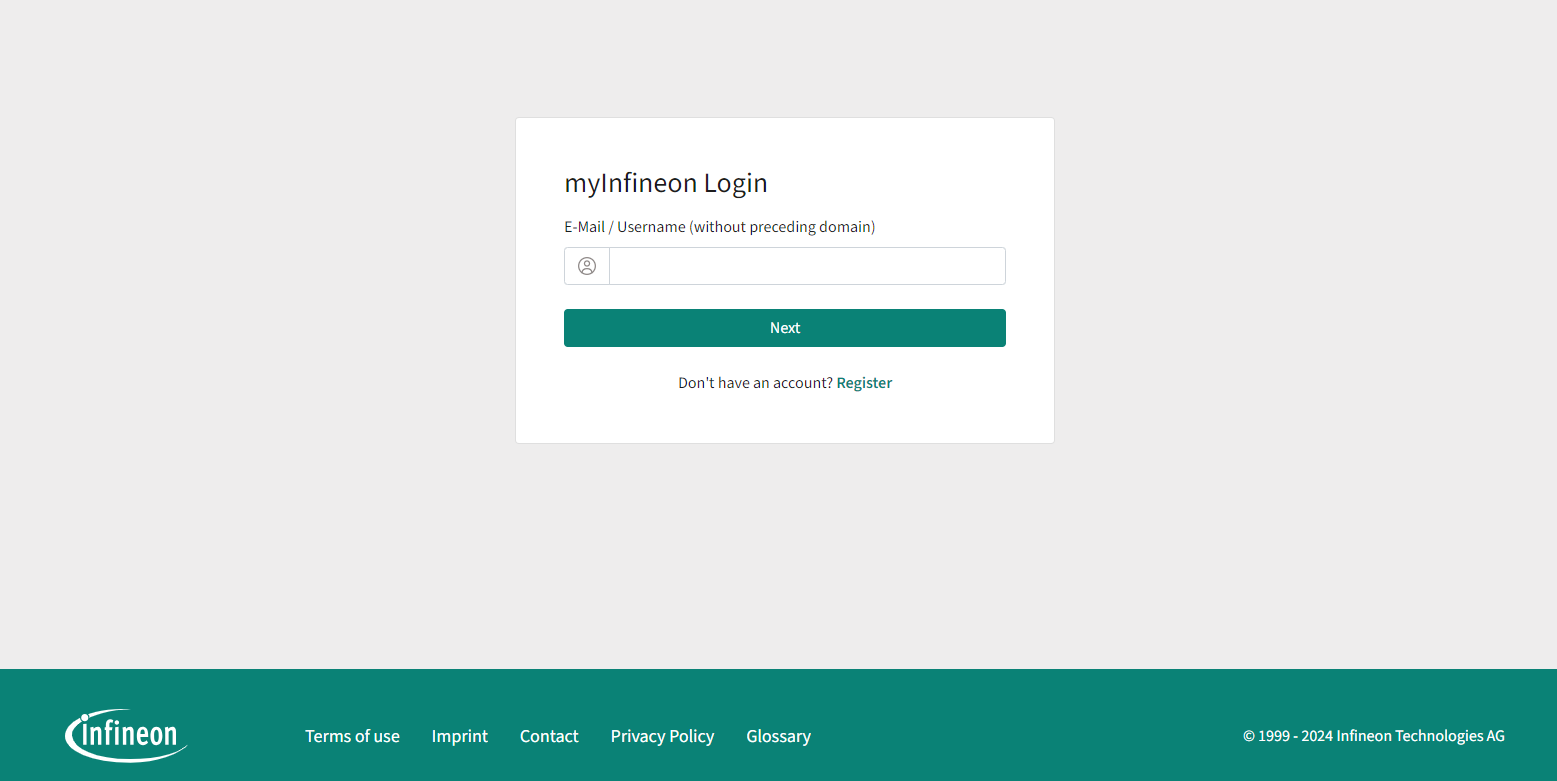
Before downloading, it will ask you to log into Infineon, as shown in Figure 3.. You will need to sign into your account or create a new one.
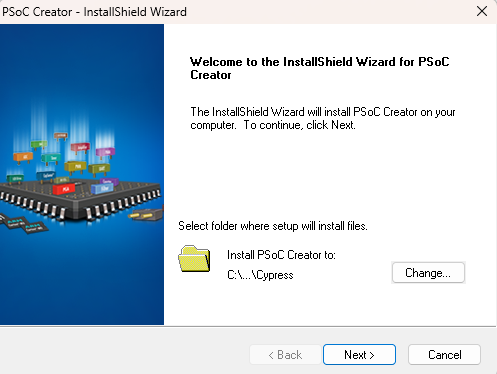
The first step is to verify where to install the PSoC Creator, as shown in Figure 4. You can either accept the default location or change it.
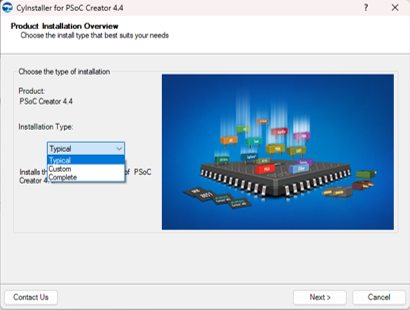
The second item to decide on is the “Installation Type” you want to install. We will go with Typical as shown in Figure 5.
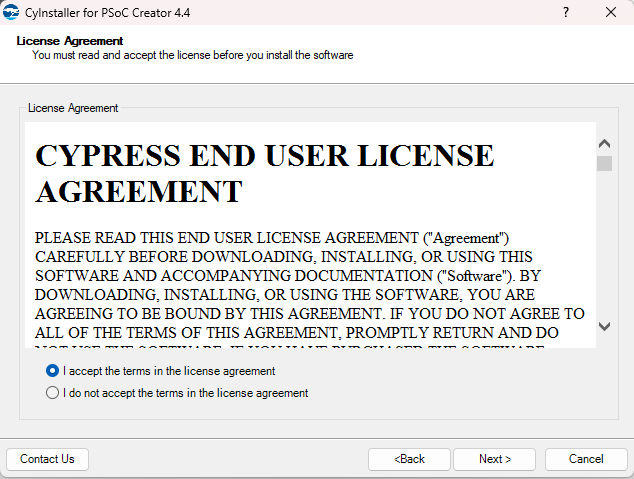
Then, it will ask you to accept the terms of the two license agreements as shown in Figure 6.
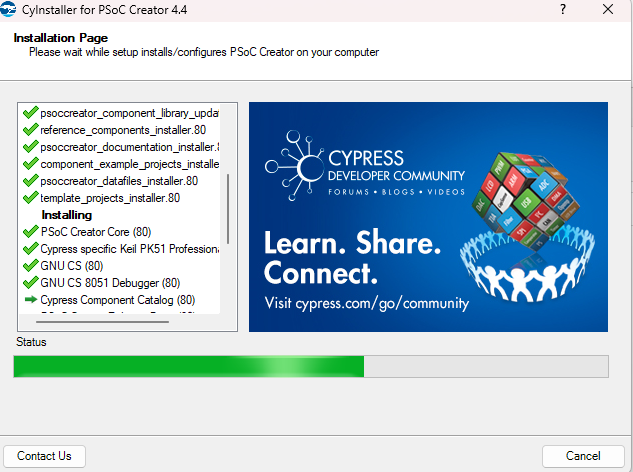
Finally, the software will begin to install.
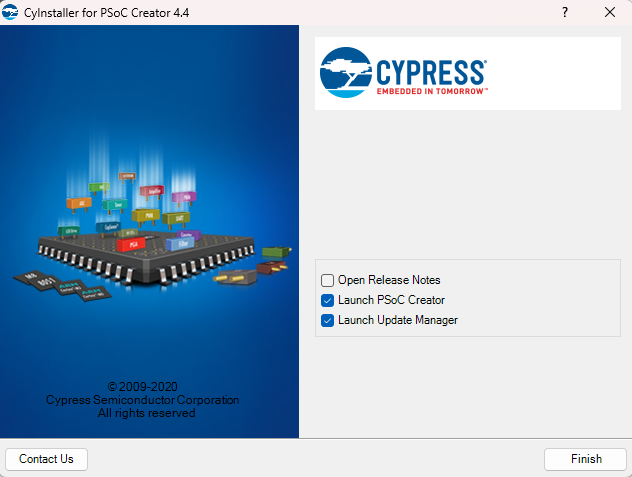
When the installation is finished, you have a few choices on how you want to Finish as shown in Figure 8.
Step 2 - Install Python
To Hide Details
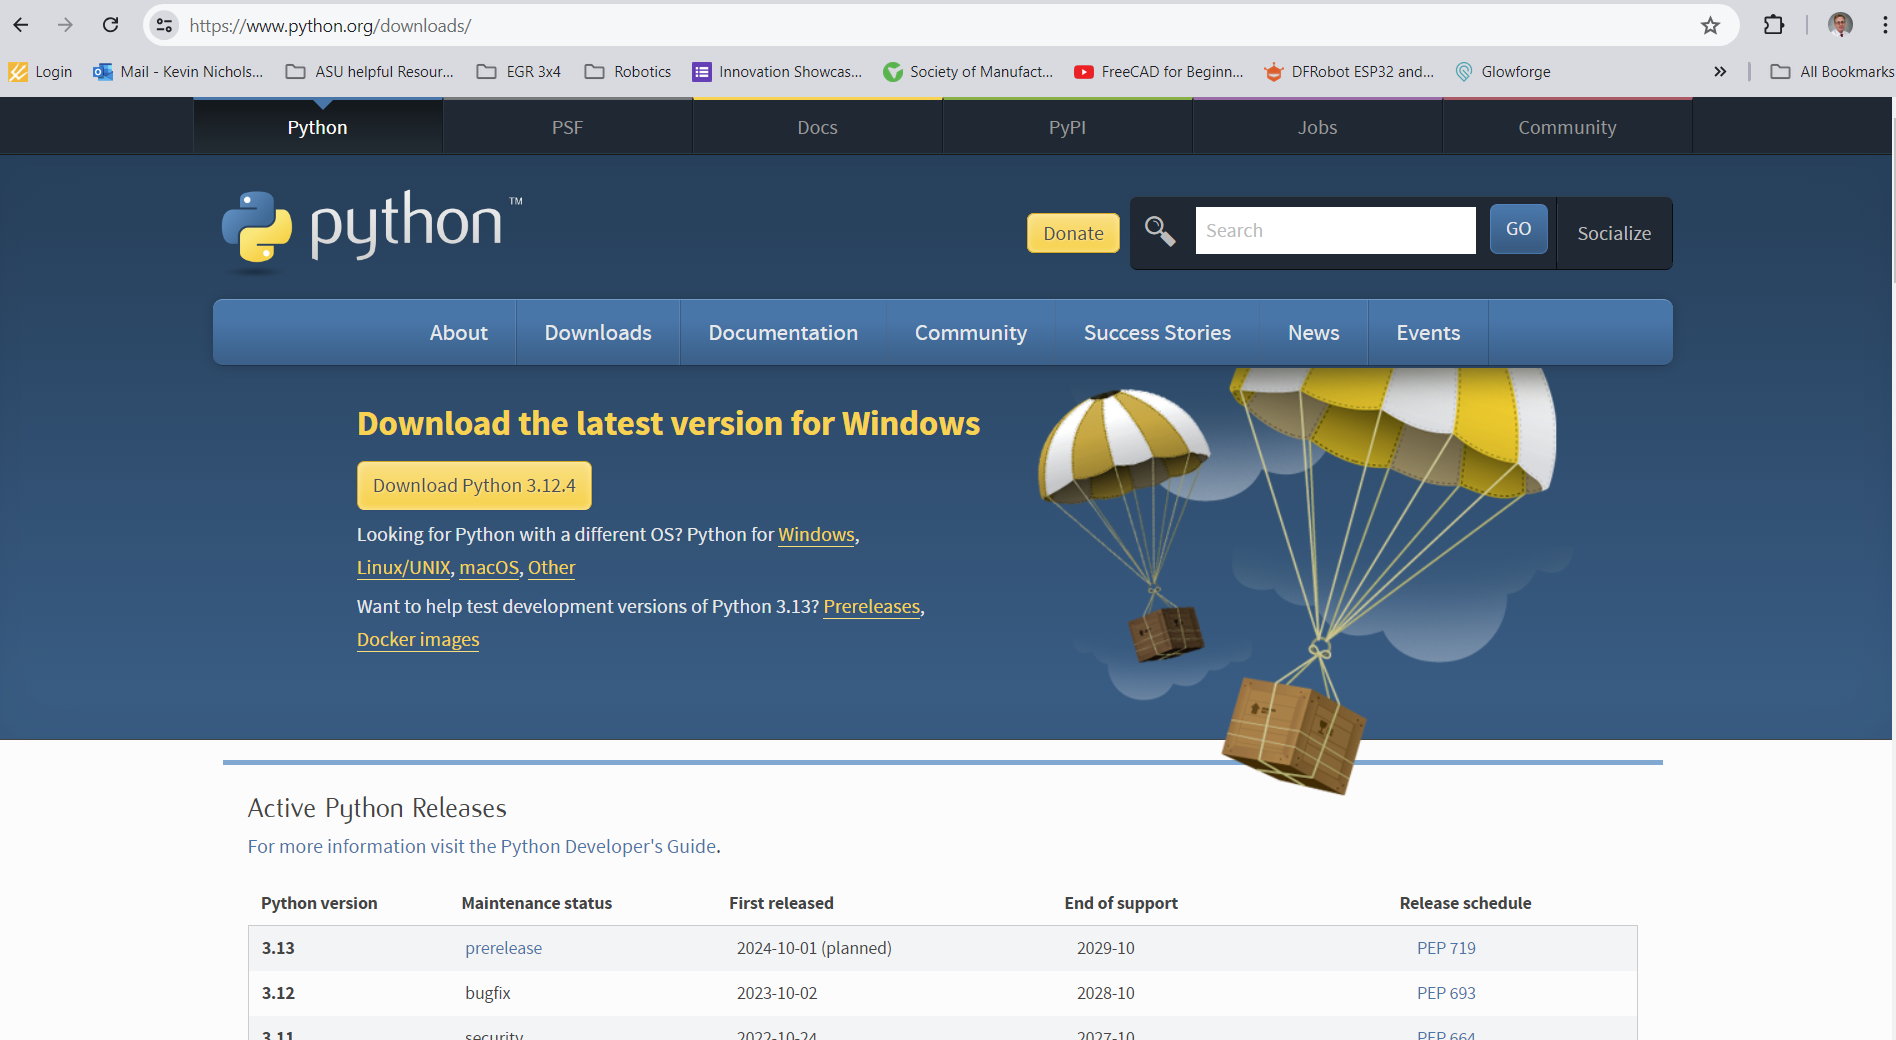
To handle some of the heavier processing that will come later in these courses, we will be using Python. You will need to go to < https://www.python.org/downloads/> and download the version that works with your computer type, like what is shown inFigure 9.
After downloading the program, go ahead and run the install software. The first option you will have when installing will be whether you are installing for all users or just for you as the user you are currently signed in as. Click Next after making your selection.
The next option will be the Destination Directory location. Before selecting Next, take a moment to look at and remember the location you will have Python installed.
The following screen will be the Customize Python options. Scroll down the list till you find “Add python.exe to Path - Entire feature will be installed on local hard drive.” After selecting it, click Next and wait for the software to finish installing. When complete, you can close the Install software by selecting “Finish.”
Step 3 - Install Python’s Library “NumPy”
To Hide Details
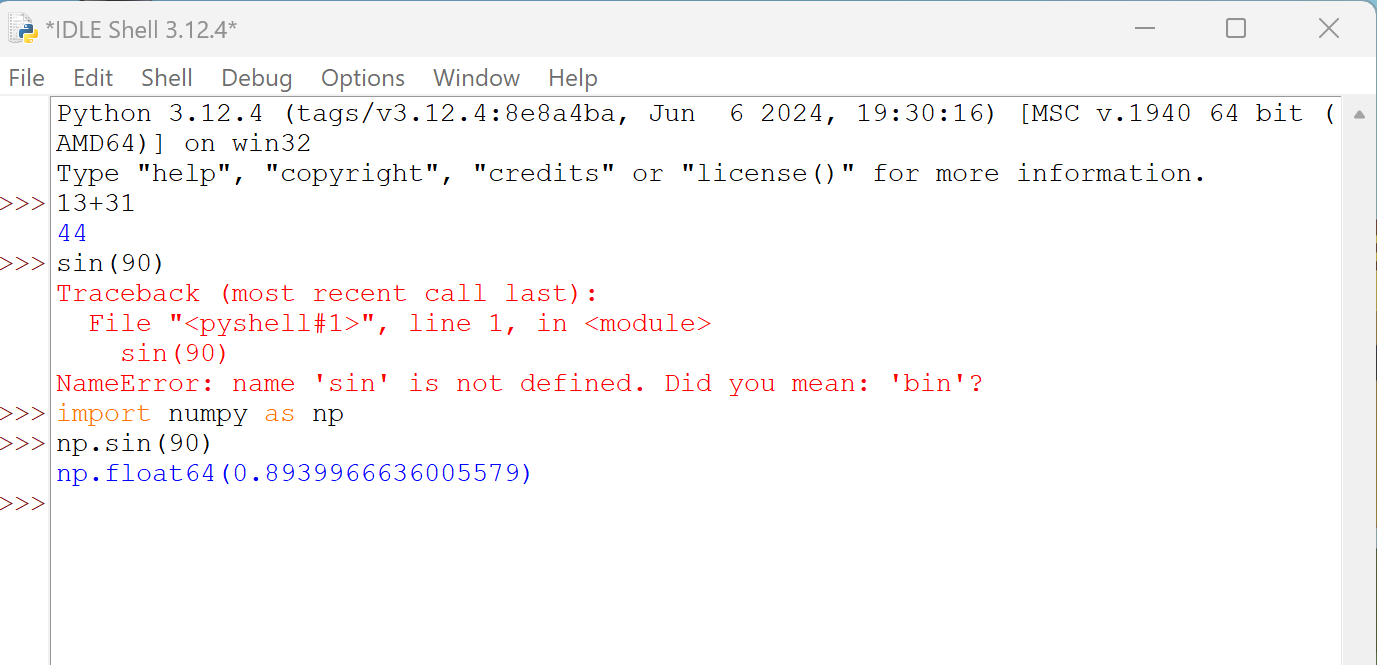
If you were to open Python IDLE right now and enter a single line of a simple math problem, like 13 + 31, and hit Enter, Python will return the answer. But when you enter a simple trigonometry problem like sin(90), you will get an “NameError.” This is because a Python library called NumPy does not automatically when Python was installed.
NumPy (Numerical Python) is an open-source Python library widely used in science and engineering. It works with arrays and has functions for linear algebra, Fourier transform, and matrices.
There are several ways to install NumPy. You can go to https://numpy.org/install to see several of these methods. I used the PIP method to install NumPy into Python in just a couple of steps.
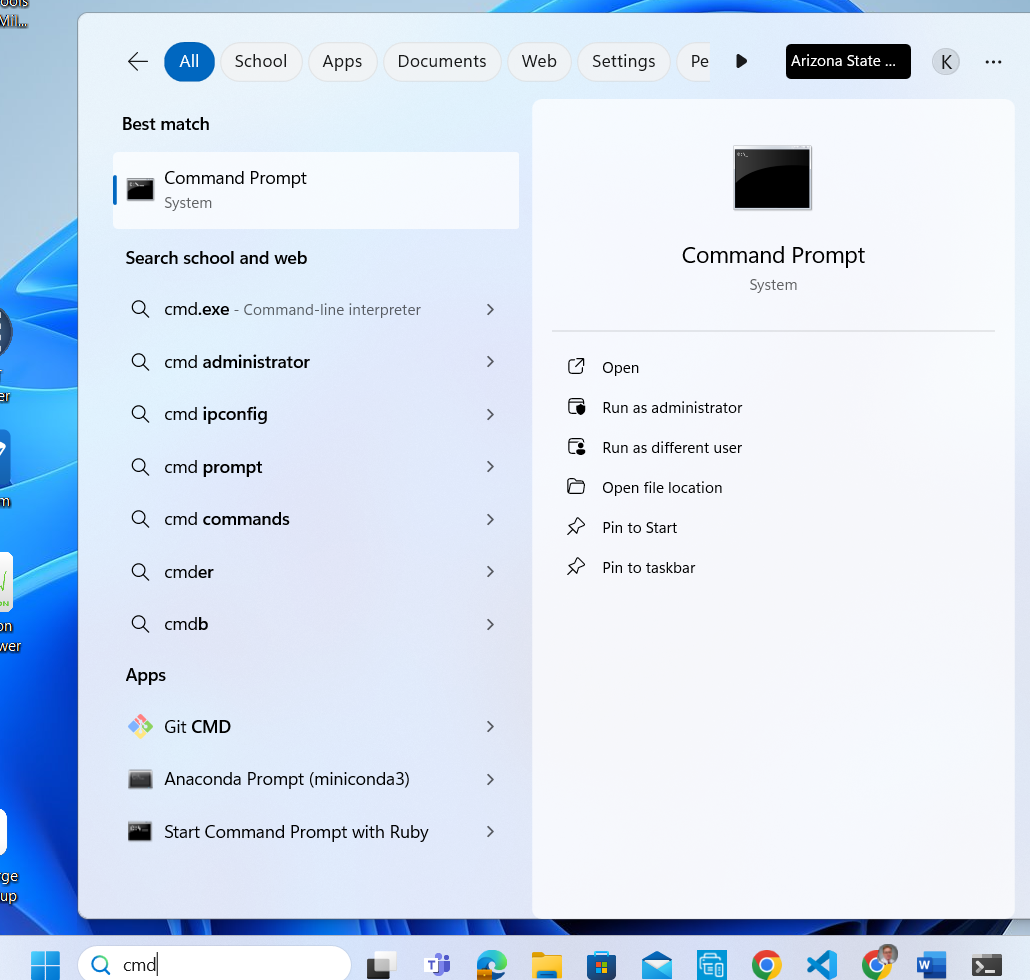
The first step is to open the computer`s Command Prompt window by typing CMD in the program search, similar to what is shown in Figure 10.
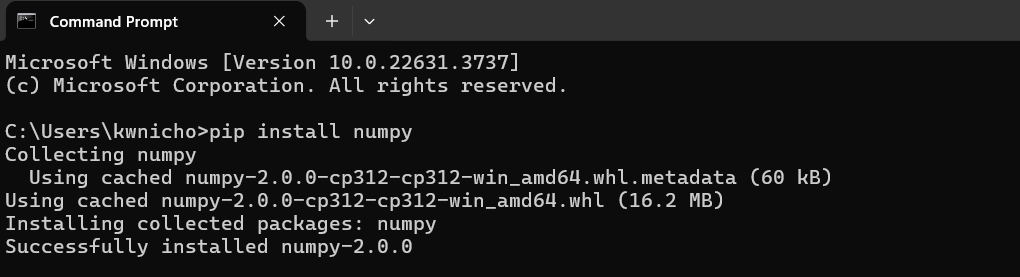
Once the Command Prompt opens, type “pip install numpy” and then Enter to start the installation process. After a few moments, you should get a message that it was successfully installed. Something like what is shown in Figure 11. After the installation process has finished, go ahead and close the Command Prompt window.
After you have installed the NumPy library, it is a good idea to check that it was installed correctly so that a bad installation does not cause trouble later. Open Python IDLE program and enter a single-line math problem, like 13 + 31 into the IDLE Shell window and hit Enter. If you entered 13 + 31, Python returns the answer of 44. Now to check that the NumPy library got installed, type ”import numpy as np” in the new line of the Shell window and then Enter. If there was no problem with the NumPy installation, you should just get a new line. Now to check the trigonometry function of sine, type “np.sin(90)” and enter. You should get the radiant number of the sine of 90 degrees. Figure 12 shows my results for this NumPy installation check.
You will learn more about using Python in future lab lessons.